
Short answer: The right COB LED strip for cabinet and furniture lighting is selected by matching the strip width, voltage, colour temperature, power, cutting flexibility, installation profile, control method, and environment to the actual furniture structure. For short custom sections, narrow cabinets, wardrobes, display furniture, and millwork with different compartment lengths, a cut-anywhere COB LED strip can simplify measurement and produce a continuous-looking light line. The best result comes from treating the strip, aluminium profile, diffuser, power supply, wiring, and control system as one complete lighting system.
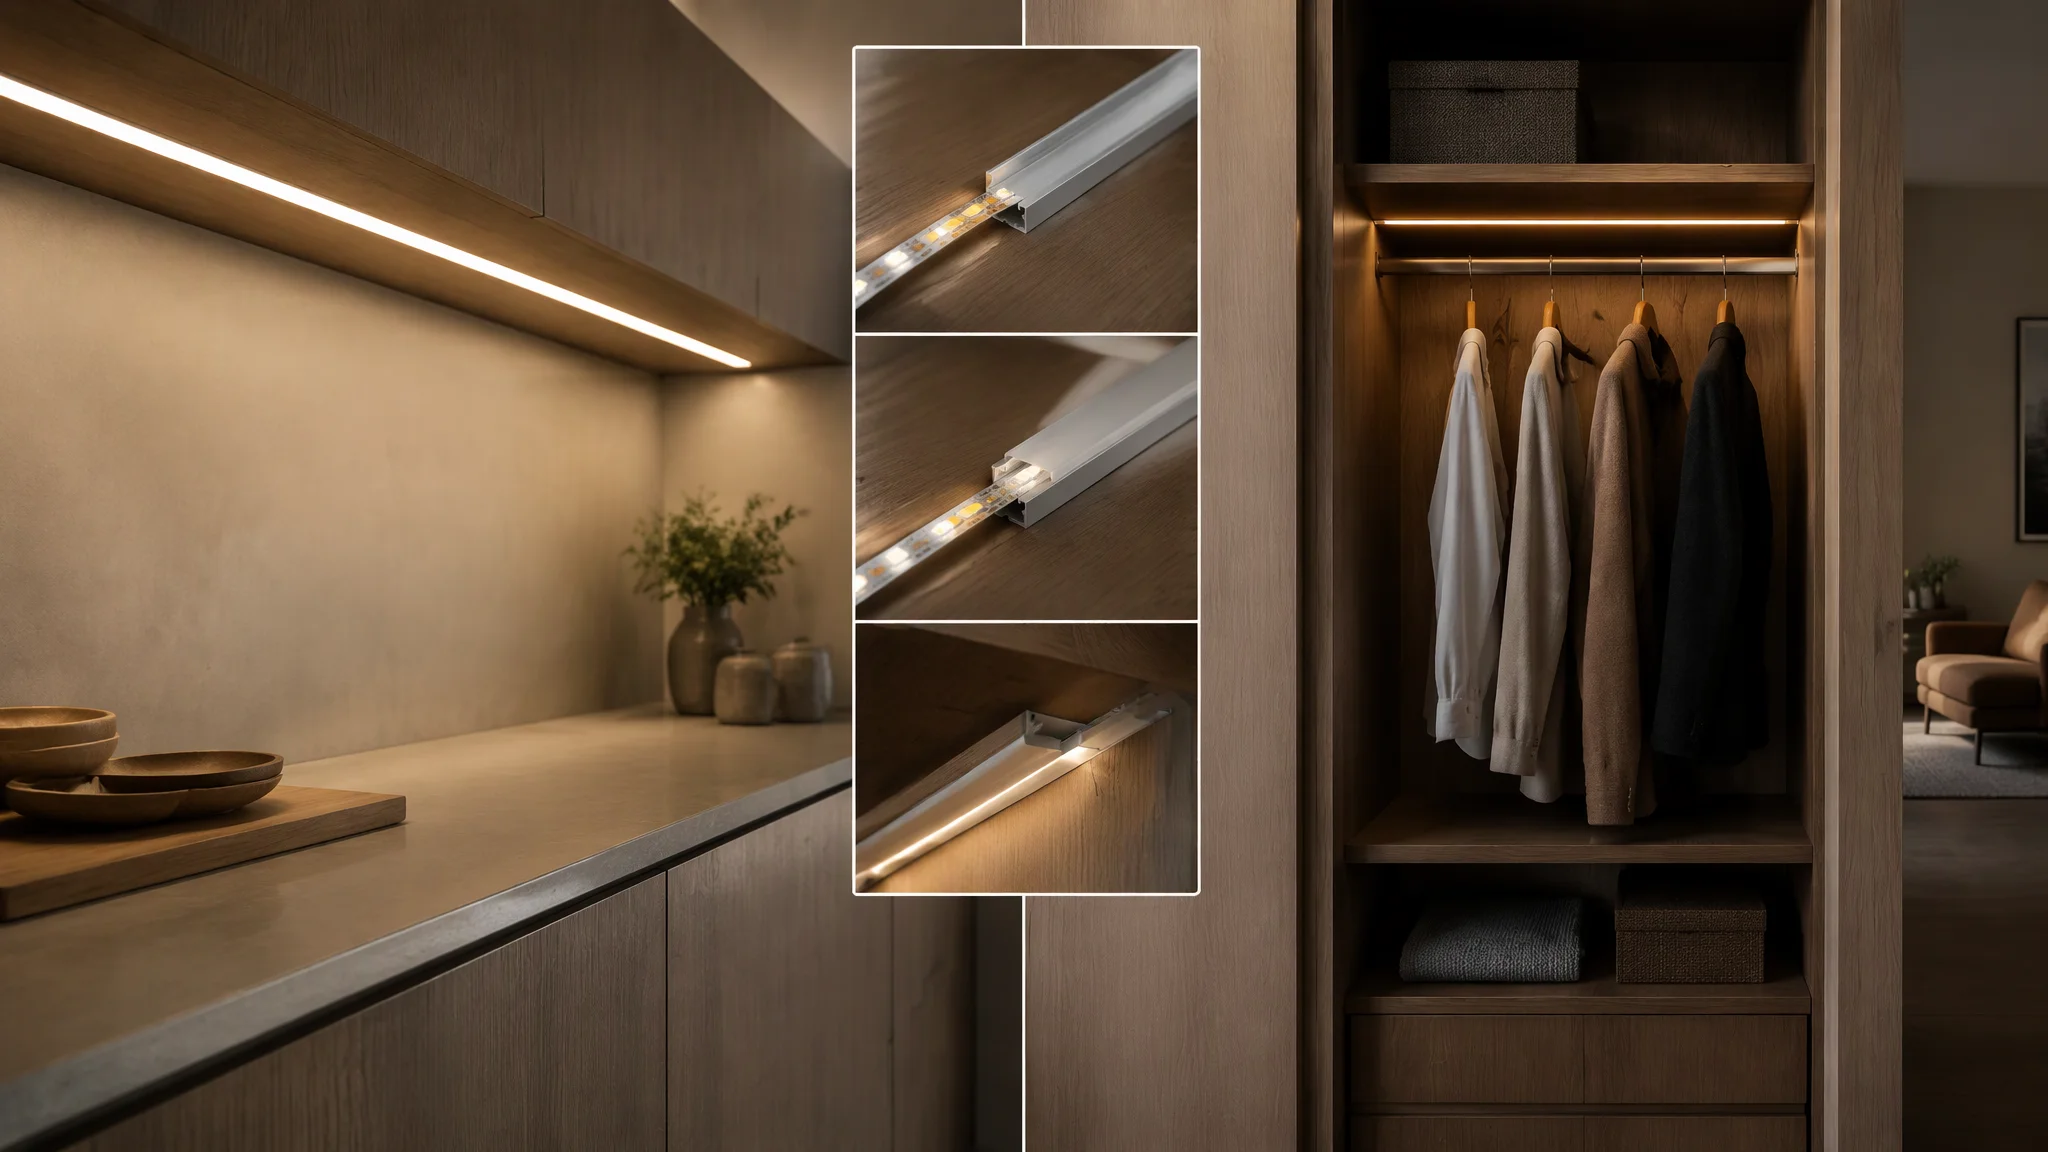
Furniture lighting should be selected as a complete system, not as a strip roll alone.
What Should You Check First When Choosing a COB LED Strip?
Start with the furniture geometry and the lighting task, not with a catalogue photo. A strip that looks suitable on a sample board may be too wide for a narrow slot, too bright for a wardrobe, too warm for a retail display, or difficult to service after the furniture is installed.
Before selecting a product, record the following information:
The exact illuminated length of each cabinet, shelf, drawer, or wardrobe section.
The available strip width, profile depth, and cable-exit space.
Whether the light is decorative, functional, display-oriented, or a combination.
The preferred colour temperature and the materials that will be illuminated.
The required voltage, total length, power arrangement, and control method.
Whether the installation is dry indoor, humid, enclosed, exposed to cleaning, or subject to heat.
How the strip and power connections will be inspected or replaced later.
Why Is COB Technology Useful for Cabinet and Furniture Lighting?
COB LED strips place many LED chips on a circuit substrate and use a continuous phosphor-emitting surface. When the strip is installed with suitable spacing and diffusion, the result is a smoother linear appearance than a conventional strip with widely separated LED packages.
This is useful in furniture because light is often viewed at a short distance or reflected directly from glossy surfaces. Visible LED points can appear as repeated bright spots on cabinet doors, polished stone, glass shelves, or lacquered furniture. A COB strip can reduce that visual distraction, but it does not remove the need for correct profile depth, diffuser selection, alignment, and testing.
Furniture requirement | How COB LED strips can help | What still needs to be specified |
|---|---|---|
Continuous-looking light | Creates a smoother luminous line when installed correctly | Profile, diffuser, viewing distance, and alignment |
Short custom sections | Cut-anywhere versions can fit different shelf or compartment lengths | Approved cutting rule and connection method for the exact SKU |
Narrow furniture slots | Small-width strips can fit compact joinery details | Strip width, profile dimensions, cable exit, and service access |
Product display | Even light can support retail and showcase presentation | Colour temperature, glare control, reflections, and sample approval |
Integrated controls | Can be combined with switches, sensors, or compatible dimming | Driver, controller, wiring, zones, and minimum dimming level |
How Do You Match the Strip to Different Furniture Types?
Different furniture structures create different lighting requirements. A kitchen cabinet, wardrobe, retail shelf, and reception desk may all use linear LED lighting, but they do not necessarily need the same width, output, colour, protection, or control method.
Kitchen Cabinets and Under-Cabinet Lighting
Under-cabinet lighting usually needs to illuminate a work surface without creating harsh reflections or a visible source line. The strip position should be selected in relation to the front edge, backsplash, handles, and the user’s normal standing position.
For a practical kitchen installation, confirm:
Whether the strip is closer to the front edge for task illumination or farther back for ambient light.
Whether an aluminium channel and diffuser are needed to protect the strip from cleaning and impact.
Whether the colour temperature works with the worktop, cabinet finish, wall tile, and food surfaces.
Whether the wiring can remain hidden while keeping the power connection accessible.
For more project context, see the kitchen cabinet lighting project and compare its installation requirements with the selected product.
Wardrobes and Dressing Areas
Wardrobes combine vertical sides, horizontal shelves, hanging compartments, drawers, doors, and moving hardware. A strip that works well under a fixed cabinet may be unsuitable if it is exposed to repeated contact from sliding doors or clothing.
Vertical strips can improve visibility inside tall compartments, while horizontal strips can provide shelf or drawer illumination. Use separate sections where doors, hinges, runners, or removable panels interrupt the lighting path. Leave enough space for connectors and allow the service route to be accessed without dismantling the entire wardrobe.
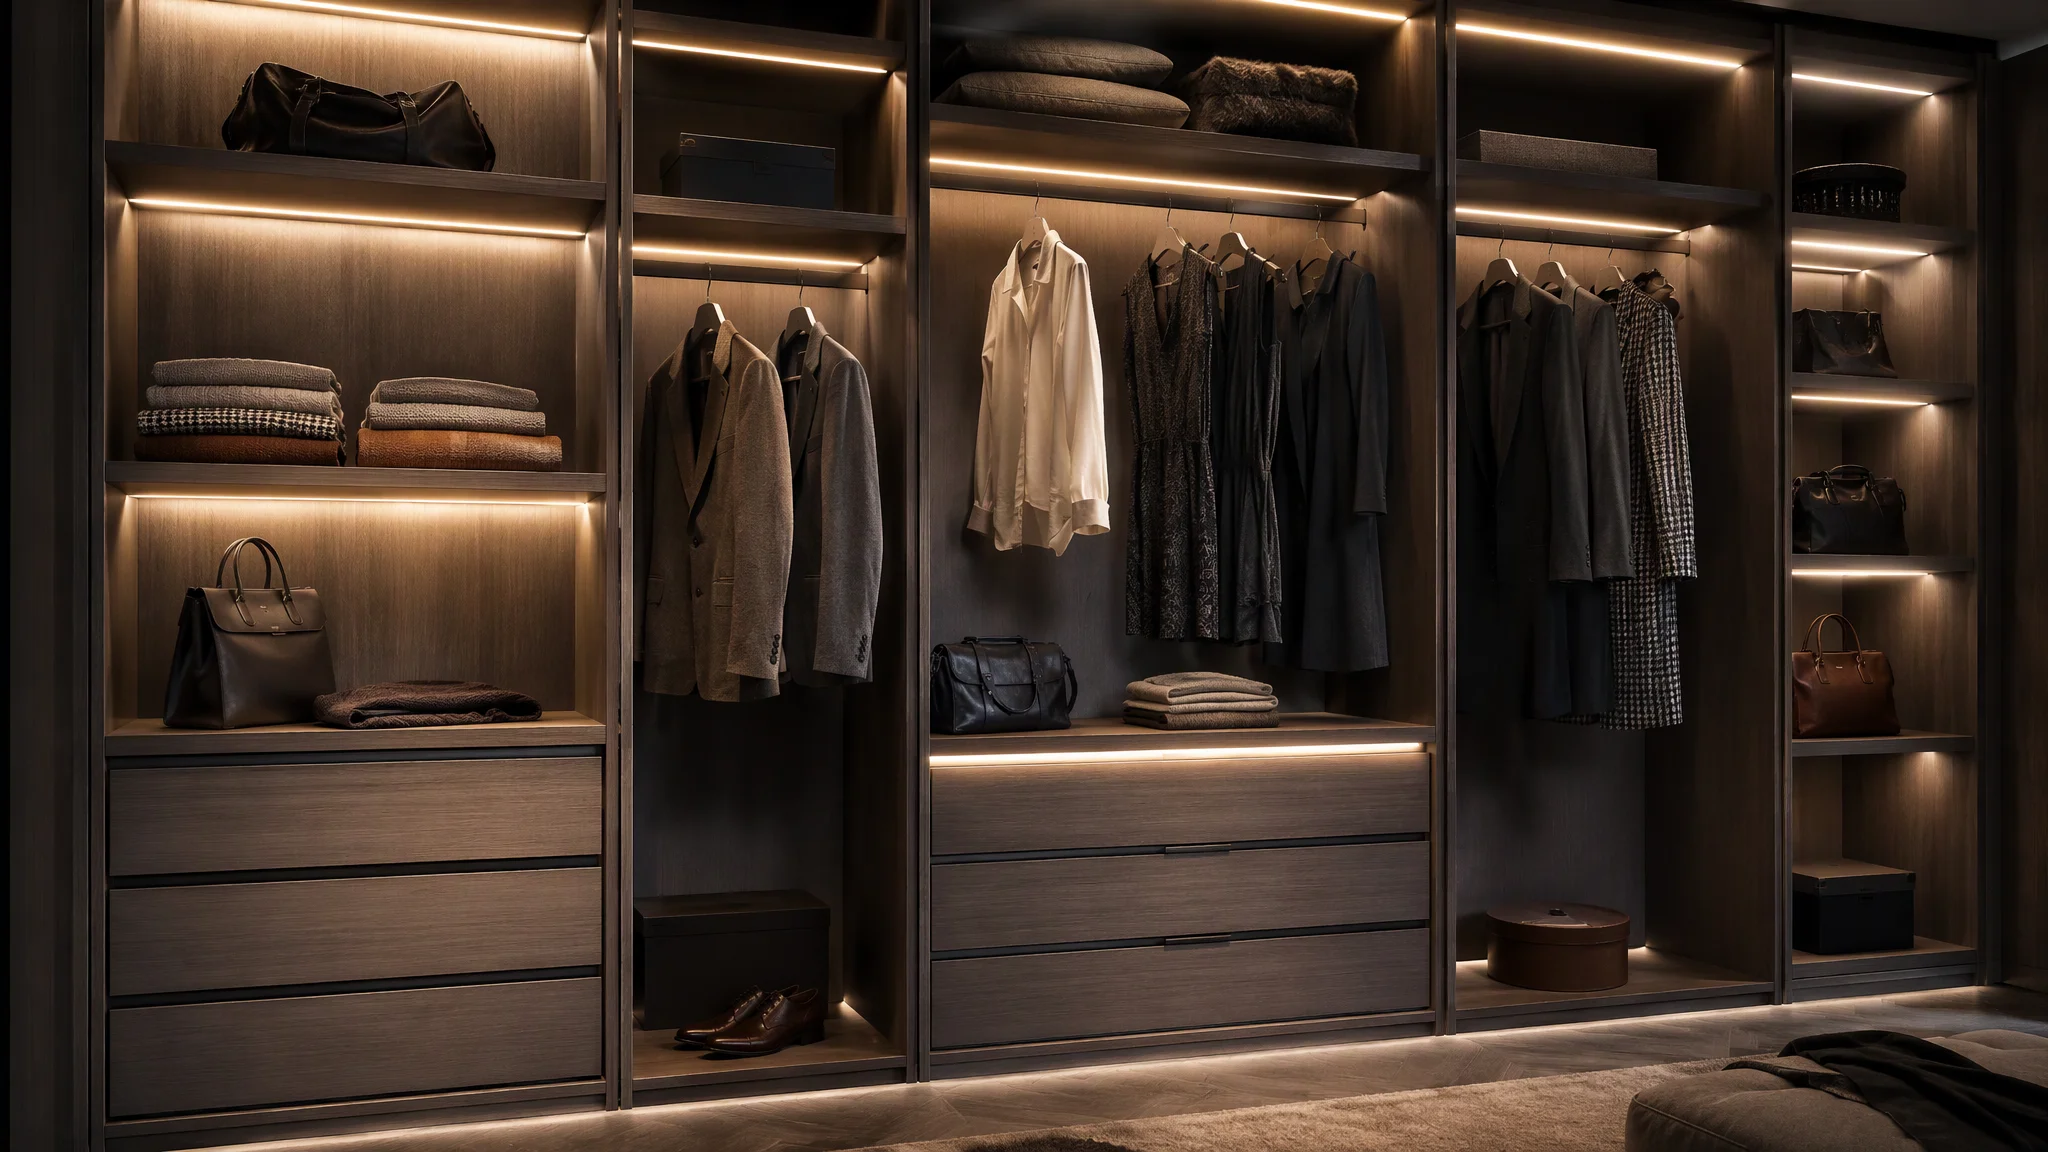
Different wardrobe compartments may require separate strip sections and cable routes.
Display Cabinets and Glass Shelves
Display furniture is sensitive to reflections, glare, colour shift, and visible hotspots. A continuous-looking COB strip can be useful under glass shelves or along cabinet edges, but the light should be tested with the actual glass, product packaging, backing panel, and viewing angle.
Do not judge a display lighting system only from an empty cabinet. A dark bottle, glossy package, metal object, or transparent product can change the reflection pattern considerably. Build a sample bay with the final profile, diffuser, shelf material, and product type before repeating the design across a store or showroom.
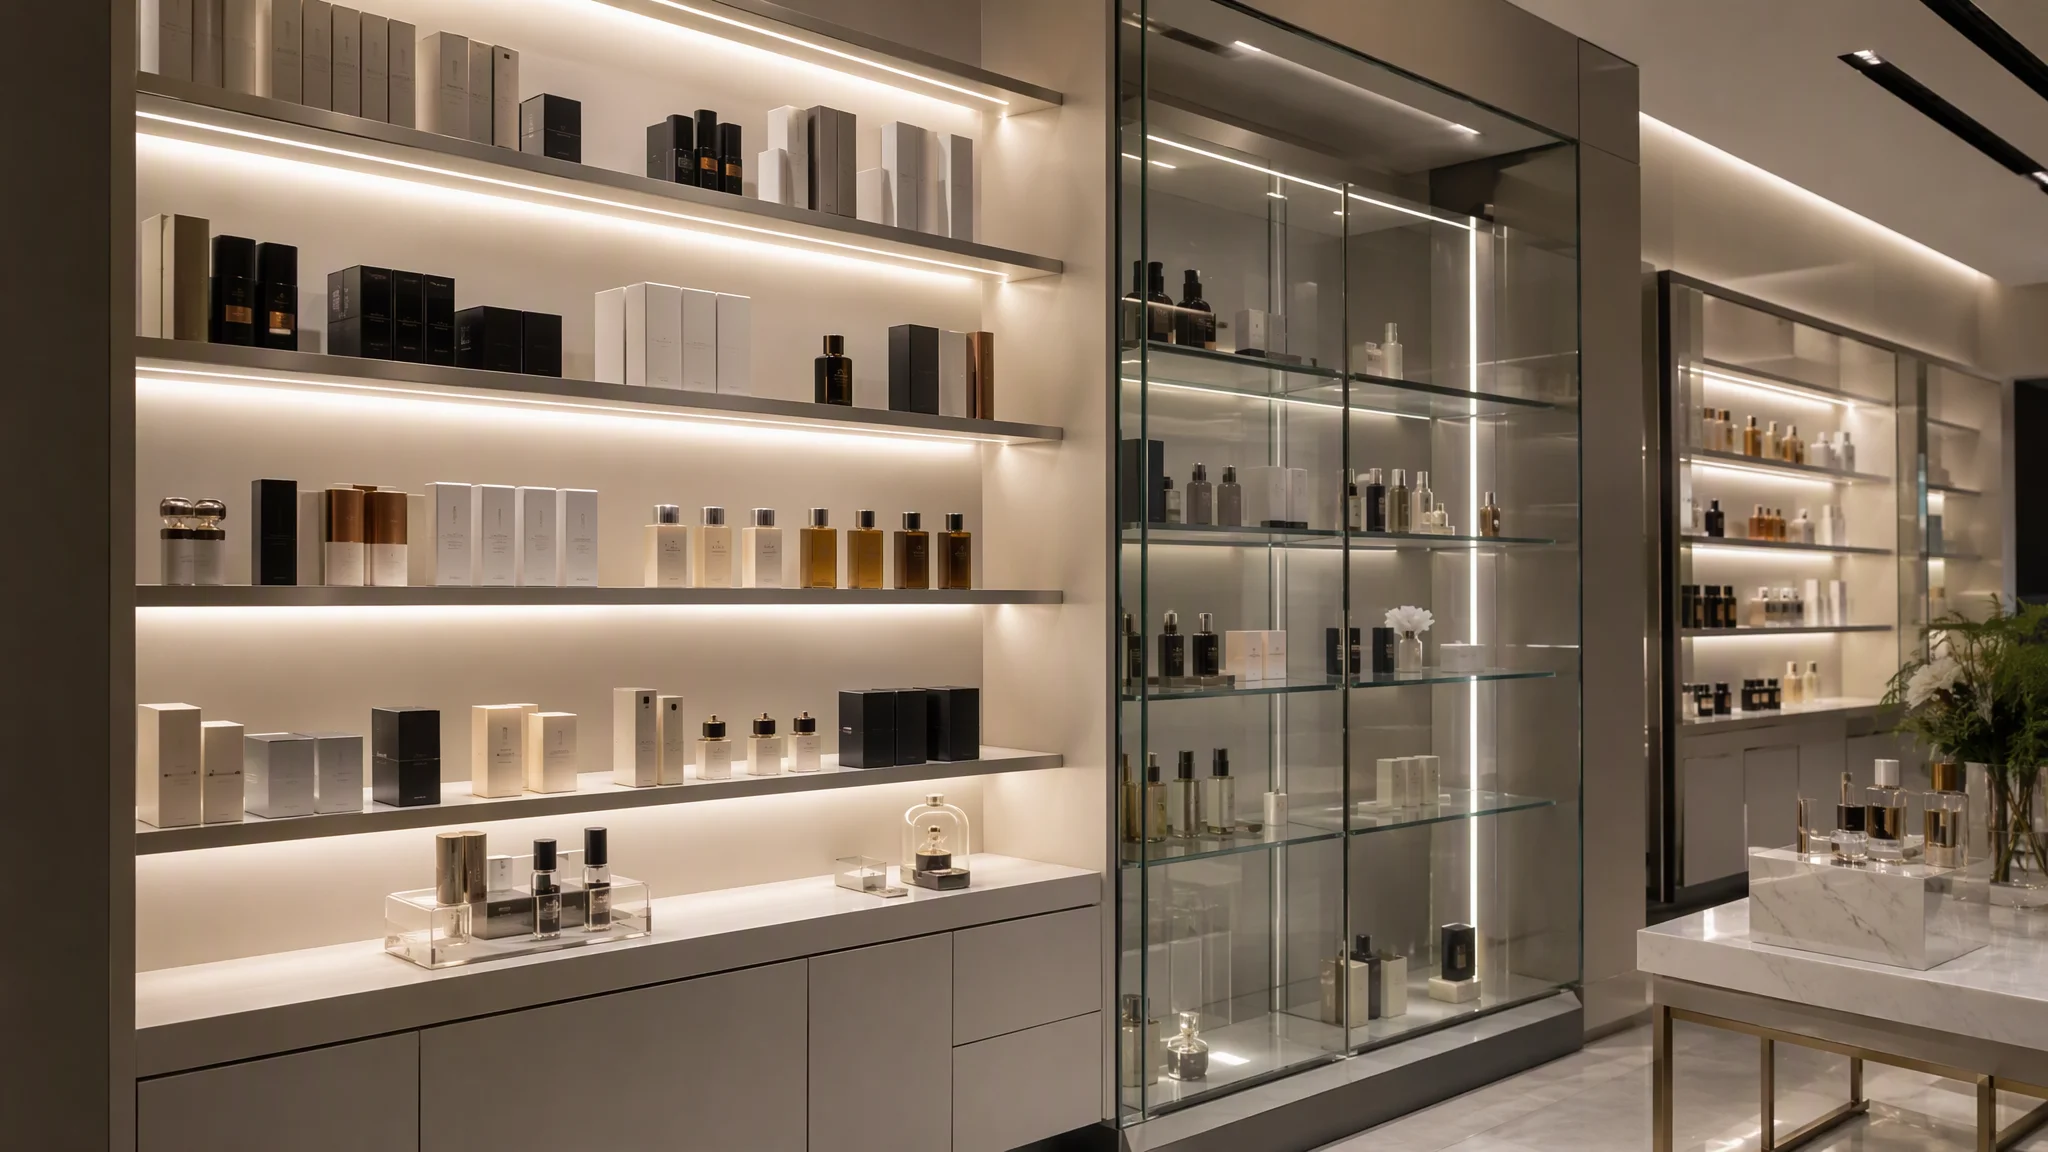
Display shelves need controlled reflections and consistent light across each section.
Commercial Furniture and Reception Counters
Reception desks, hotel furniture, office storage walls, and branded counters often include short decorative lines, recessed details, and multiple material transitions. A flexible COB strip can follow the design more closely when each section is measured separately.
For commercial furniture, define the installation responsibility clearly. The furniture manufacturer may provide the channel and cable route, while the lighting contractor may provide the power supply and commissioning. The RFQ should state who supplies each part so that connectors, cable lengths, and driver access are not left unresolved at installation.
How Do You Choose the Correct Strip Width?
Strip width must fit the available furniture detail while leaving enough room for safe installation and heat transfer. A narrow strip is not automatically better: if the profile is too small, the diffuser sits too close to the emitting surface, or the cable exit is forced against the panel, the final result can be less uniform and harder to maintain.
Installation condition | What to look for | Common risk |
|---|---|---|
Narrow recessed slot | Strip and profile width, diffuser depth, cable exit clearance | Profile cannot close or light source becomes visible |
Under-cabinet surface | Viewing angle, front-edge position, glare control, cleaning protection | Uneven worktop illumination or direct glare |
Wardrobe vertical side | Bending direction, door clearance, hardware interference | Strip rubs against clothing or moving door |
Glass display shelf | Reflection behaviour, diffuser, heat and service access | Hotspots or distracting reflections on products |
Curved furniture detail | Permitted bend direction and minimum radius | Twisting, lifting, or circuit damage |
Measure the complete assembly rather than the LED tape alone. The usable space may be reduced by the aluminium profile wall, diffuser lip, end cap, cable bend radius, mounting clips, and the furniture’s trim or edging.
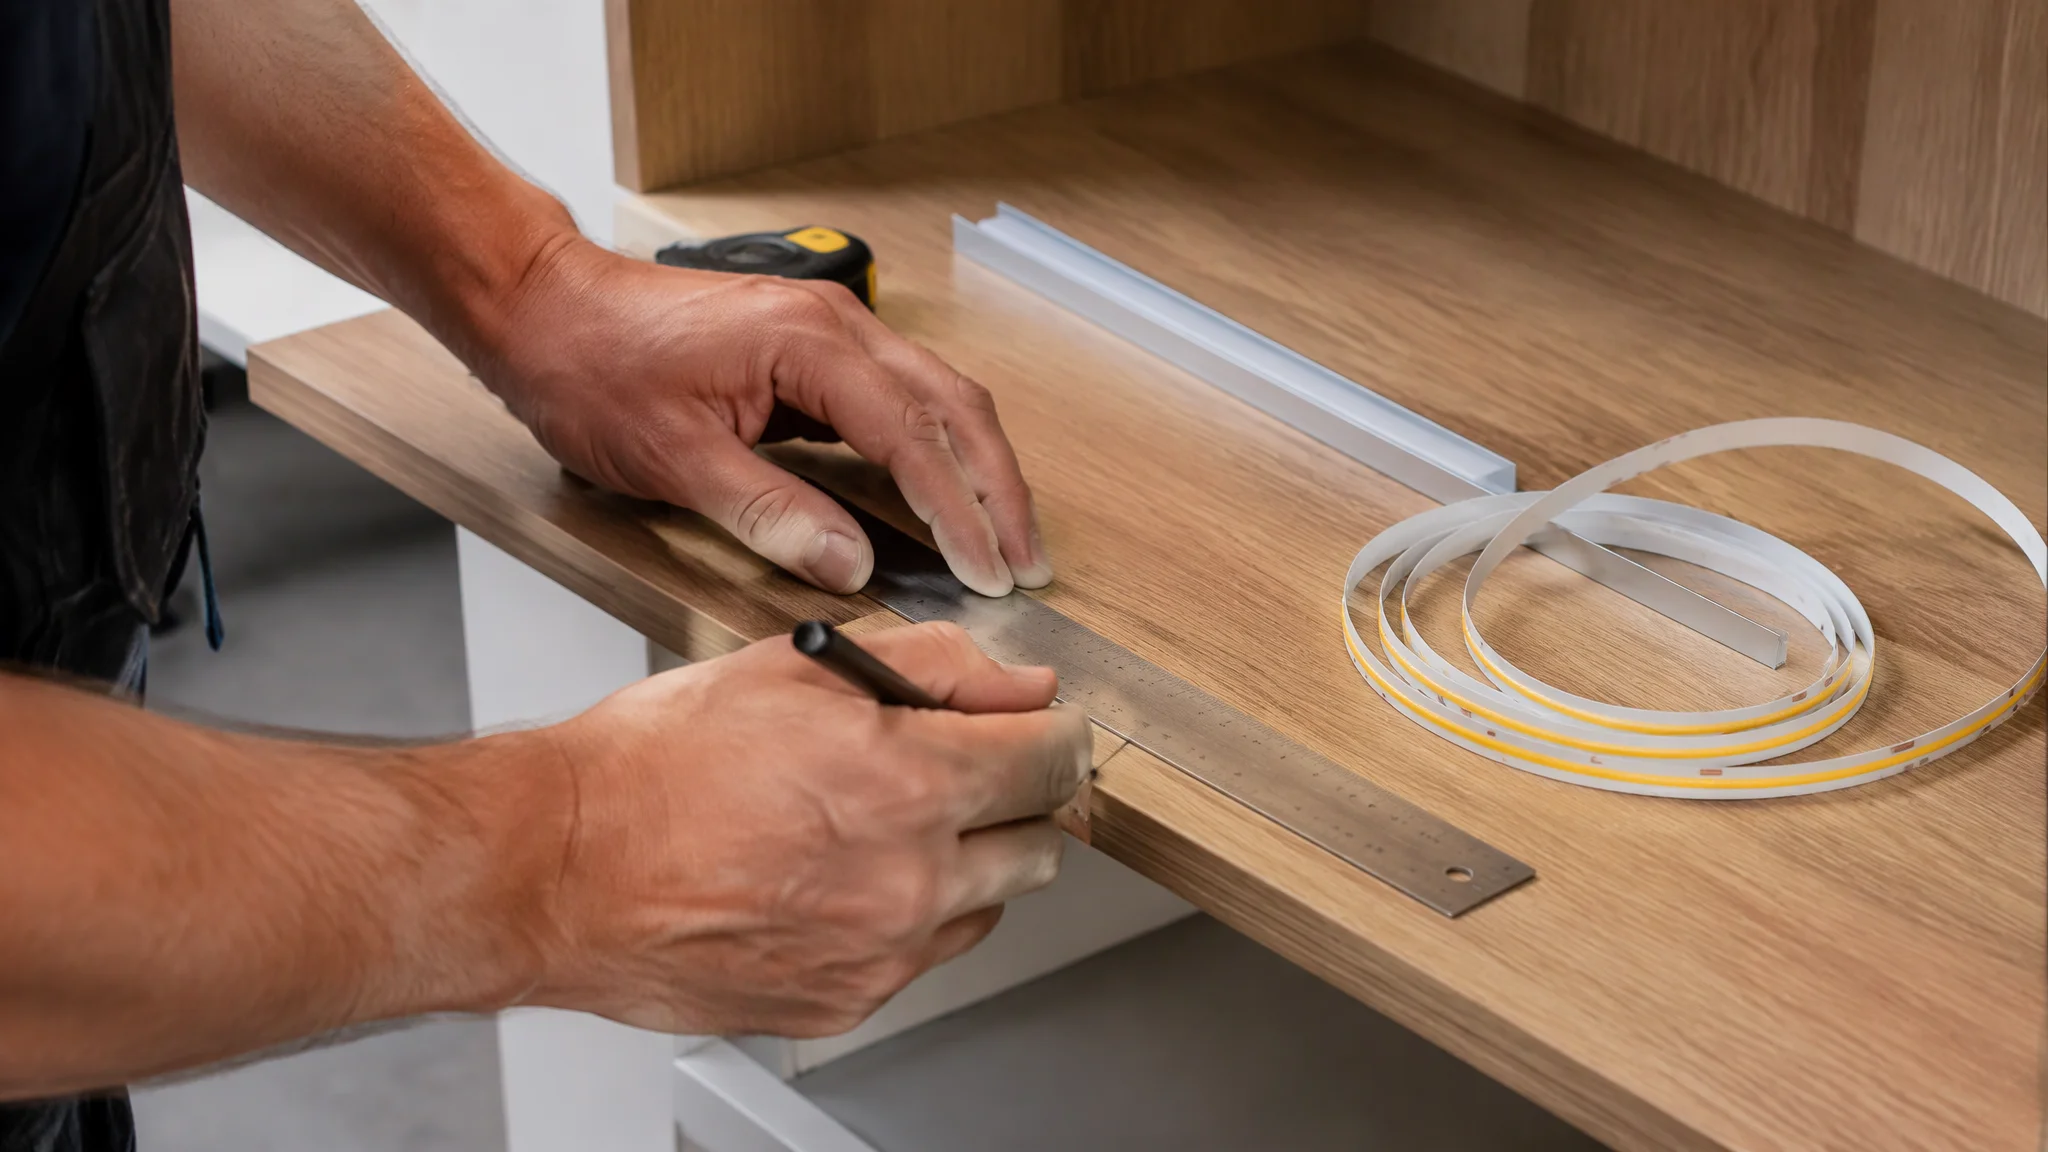
Measure the finished furniture section before cutting the strip and preparing the profile.
When Should You Choose a Cut-Anywhere COB LED Strip?
A cut-anywhere COB LED strip is especially useful when the furniture contains many different lengths or when the final dimensions cannot be confirmed until the cabinet or millwork is assembled. It can reduce the need to force a standard cut interval into an irregular space.
Typical situations include:
Cabinet runs with different shelf widths.
Wardrobes with short sections around doors, drawers, and hardware.
Display cases with separate shelf and side-panel dimensions.
Reception desks with segmented or irregular decorative lines.
Furniture prototypes where the final cut length changes during fitting.
“Cut-anywhere” still refers to the cutting flexibility designed into a particular product. It does not mean that the strip can be cut through every point without checking the circuit. Confirm the approved cutting marks and connection procedure for the exact product before installation.
How Do You Choose the Right Voltage for Furniture Lighting?
The voltage should match the strip, power supply, cable layout, total load, and project control method. Short furniture sections may use a lower-voltage arrangement, while longer cabinet runs or grouped commercial furniture may benefit from a different distribution plan. The correct choice depends on the actual system design rather than a universal rule.
When comparing voltage options, consider the current required for the same power, the cable length, voltage drop, the number of feed points, and the accessibility of the power supply. A higher nominal voltage does not remove the need to calculate the total load and inspect the last section of every run.
Confirm the strip voltage before ordering the power supply.
Calculate each section and zone separately.
Plan cable routes before furniture panels are closed.
Check brightness at the beginning and end of the longest run.
Use parallel feeds or additional injection points when the layout requires them.
How Should You Select Colour Temperature?
Colour temperature should be selected against the material and purpose of the furniture. The same nominal colour can appear different on pale wood, dark walnut, white laminate, stone, glass, fabric, metal, or coloured product packaging.
Application | Starting direction for testing | What to verify in a sample |
|---|---|---|
Warm residential furniture | Warm or warm-neutral light | Wood tone, fabric appearance, comfort, and shadow softness |
Kitchen work areas | Neutral light selected with the work surface | Food appearance, countertop colour, glare, and task visibility |
Retail displays | Colour chosen with the product category | Packaging colour, glass reflections, and product consistency |
Office storage and reception | Neutral light tested with the interior scheme | Visual comfort, wall colour, and perceived cleanliness |
Hotel wardrobes and headboards | Warm-neutral or warm light depending on the design | Guest comfort, fabric colour, and dimming scenes |
Use a physical sample whenever the lighting affects product colour, food presentation, fabric, wood veneer, or a premium finish. Do not approve colour from a screen image alone.
Do You Need an Aluminium Profile and Diffuser?
An aluminium profile can provide a stable mounting surface, mechanical protection, improved heat transfer, cleaner alignment, and a controlled diffuser position. It is particularly useful in commercial furniture, removable panels, frequently cleaned areas, and installations where the light line must remain straight.
The profile should be selected together with the strip width, output, furniture detail, viewing angle, and diffuser. A shallow profile may be suitable for a low-output decorative line but may be unsuitable for a higher-output strip in an enclosed space.
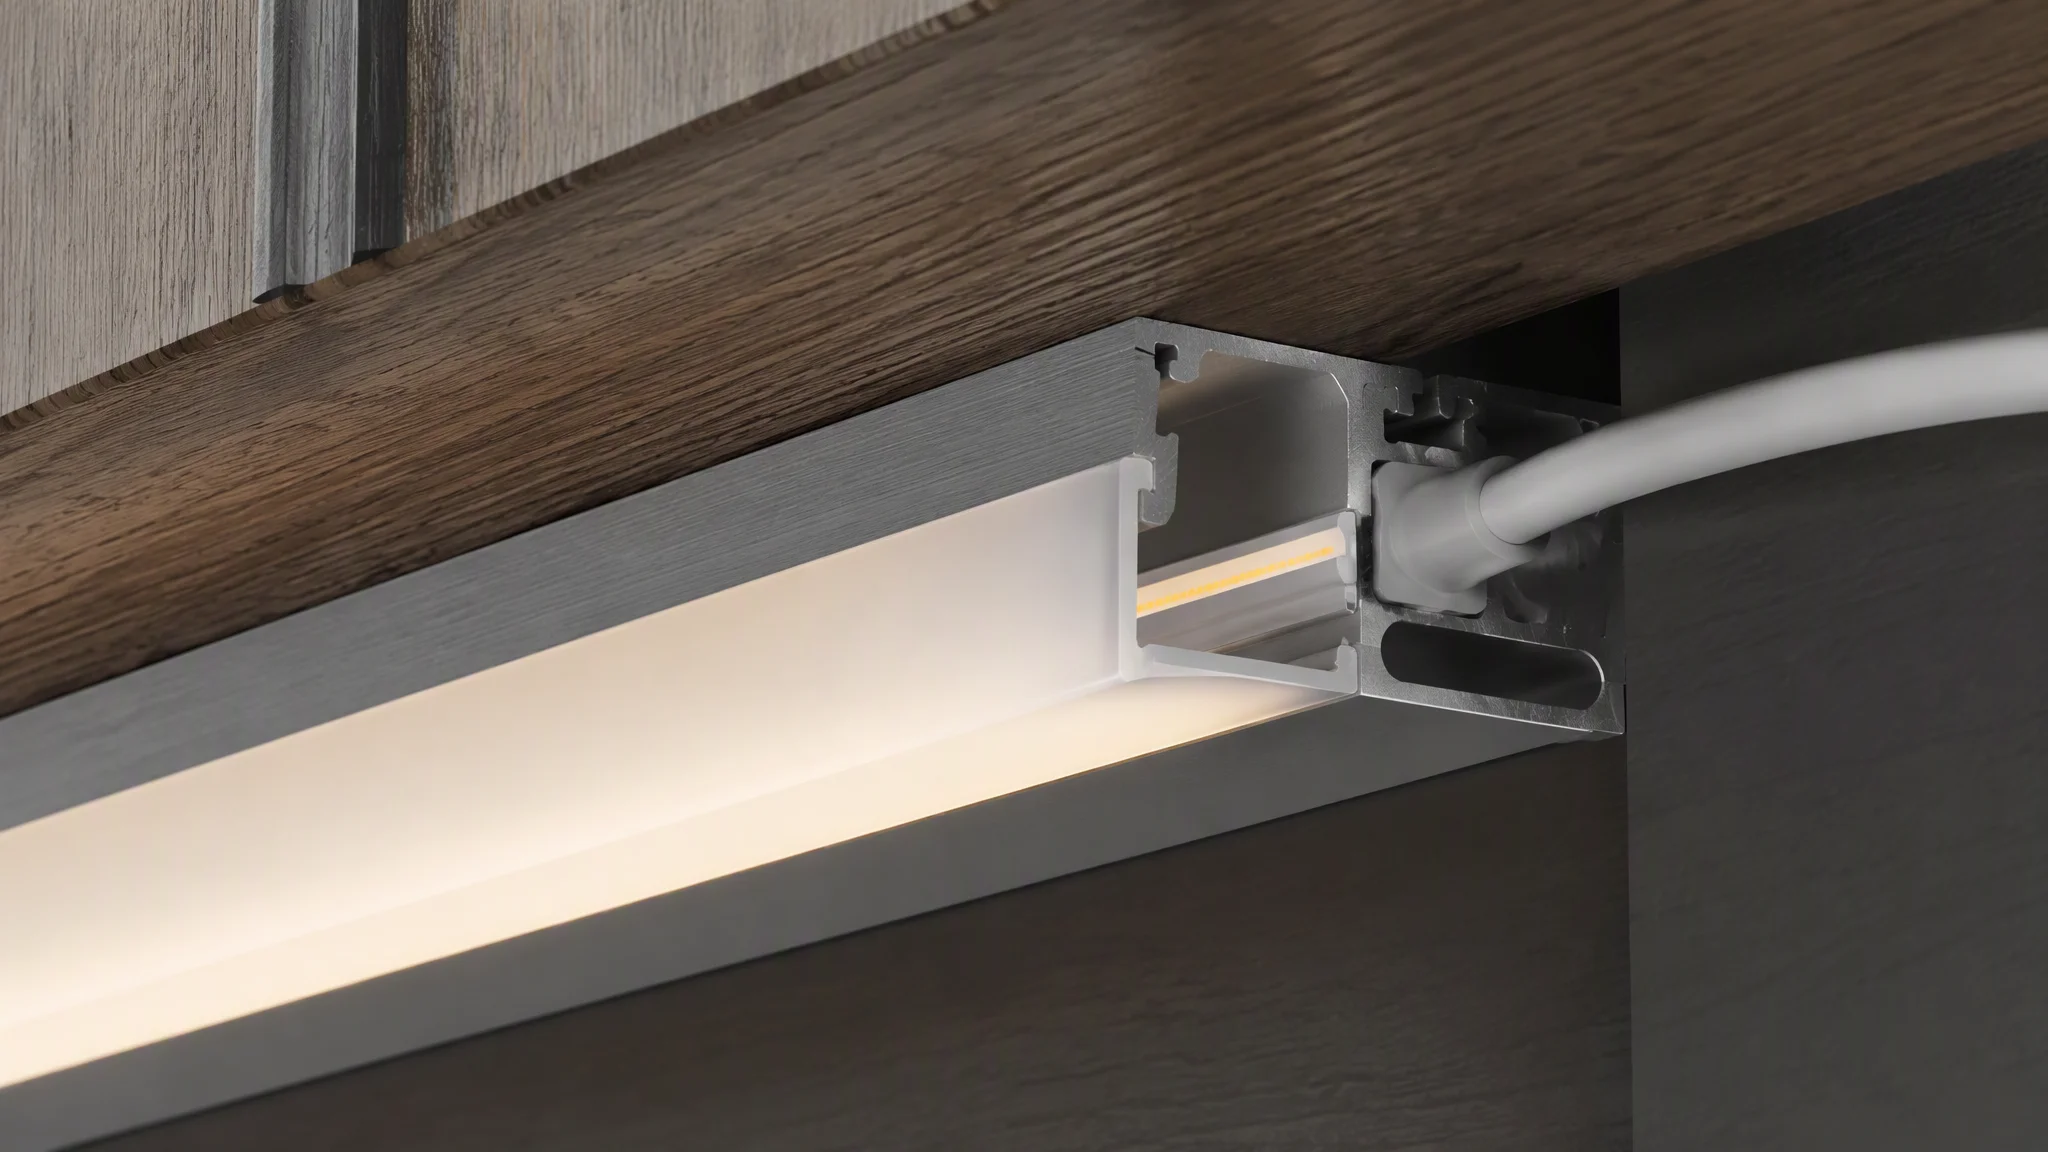
The profile, diffuser, connection, and cable exit should be planned as one installation assembly.
How Should You Plan the Power Supply and Control System?
Choose the power supply from the actual connected load, voltage, operating conditions, control method, and required headroom. Do not select a driver only from the roll length printed on the packaging if the project uses multiple cut sections, parallel feeds, or separate zones.
For furniture projects, the driver should remain accessible and adequately ventilated. Avoid burying the power supply behind a permanently fixed panel without a service route. If the installation uses a sensor, dimmer, switch, or multi-zone controller, confirm the complete compatibility chain before production.
Power and control checklist
Confirm the strip voltage and power specification for the exact SKU.
Calculate connected length for every zone.
Check the driver rating and operating margin.
Plan the longest cable route and likely voltage drop.
Confirm dimming or sensor compatibility before wiring the furniture.
Label each zone and document the cable route for maintenance.
Test startup, dimming range, sensor response, and power recovery.
How Do You Install COB LED Strips in Furniture?
A reliable installation follows the furniture sequence instead of treating the LED strip as the last-minute decorative layer.
Confirm the finished dimensions. Measure the actual cabinet, shelf, drawer, or wardrobe section after trim and hardware positions are known.
Mark the lighting path. Identify the start, end, corners, interruptions, cable exit, and service access.
Select the profile. Confirm the channel width, depth, diffuser, mounting method, and heat path.
Prepare the surface. Remove dust, oil, loose material, and debris before using adhesive or mounting clips.
Cut only at approved positions. Disconnect power and follow the exact cutting rule for the selected SKU.
Protect the connection. Secure the connector or soldered joint and prevent cable strain at the strip end.
Test before closing. Check polarity, brightness, colour, dimming, and the final viewing angle.
Install the diffuser and finish. Confirm that the profile closes without pressing or twisting the strip.
Record the system. Keep the product specification, wiring plan, driver location, and maintenance access information.
What Common Mistakes Should You Avoid?
Choosing from width alone
A narrow strip may fit the furniture but still need enough profile depth, heat transfer, cable space, and diffuser clearance. Evaluate the complete assembly.
Cutting before the furniture is final
Early measurements can change after edging, handles, doors, or shelves are installed. Confirm the final usable length before cutting production material.
Placing the light too close to a glossy surface
Short viewing distances can reveal reflections, glare, or unevenness. Test the final surface and profile before repeating the design.
Hiding the power supply permanently
A concealed driver still needs ventilation, inspection, and replacement access. Plan a service route before the furniture is closed.
Mixing products in one visual line
Different products or batches can vary in colour, brightness, phosphor appearance, and diffuser behaviour. Use a sample and confirm the batch plan for continuous visible lines.
What Should Be Included in a Furniture Lighting RFQ?
RFQ field | Information to provide |
|---|---|
Furniture type | Kitchen cabinet, wardrobe, display case, office furniture, reception desk, or other |
Section dimensions | Individual illuminated lengths, width limits, depth limits, corners, and interruptions |
Lighting function | Task lighting, ambient lighting, display lighting, decorative line, or mixed use |
Strip specification | COB type, voltage, colour, power, width, cut flexibility, and required quantity |
Installation system | Aluminium profile, diffuser, recessed or surface mounting, end caps, and cable exits |
Power and control | Driver location, wiring distance, switching, sensors, dimming, and zone arrangement |
Environment | Dry indoor, humid, enclosed, exposed to cleaning, or other relevant condition |
Quality approval | Sample bay, material sample, colour check, brightness test, and packaging requirements |
Service plan | Access route, replacement method, spare sections, and project documentation |
How Should You Approve a Furniture Lighting Sample?
A sample should reproduce the conditions that matter in production. Use the final cabinet material, profile, diffuser, strip, power supply, controller, cable route, and viewing angle. A loose strip on a workbench can look perfect while the installed version shows glare, reflection, heat, or uneven brightness.
Check the sample from normal standing and seated positions. Open and close doors, operate drawers, inspect the cable exit, run the light at the intended level, and confirm that the driver and connections remain accessible. For a commercial project, photograph and record the approved assembly so that later production does not silently change the result.
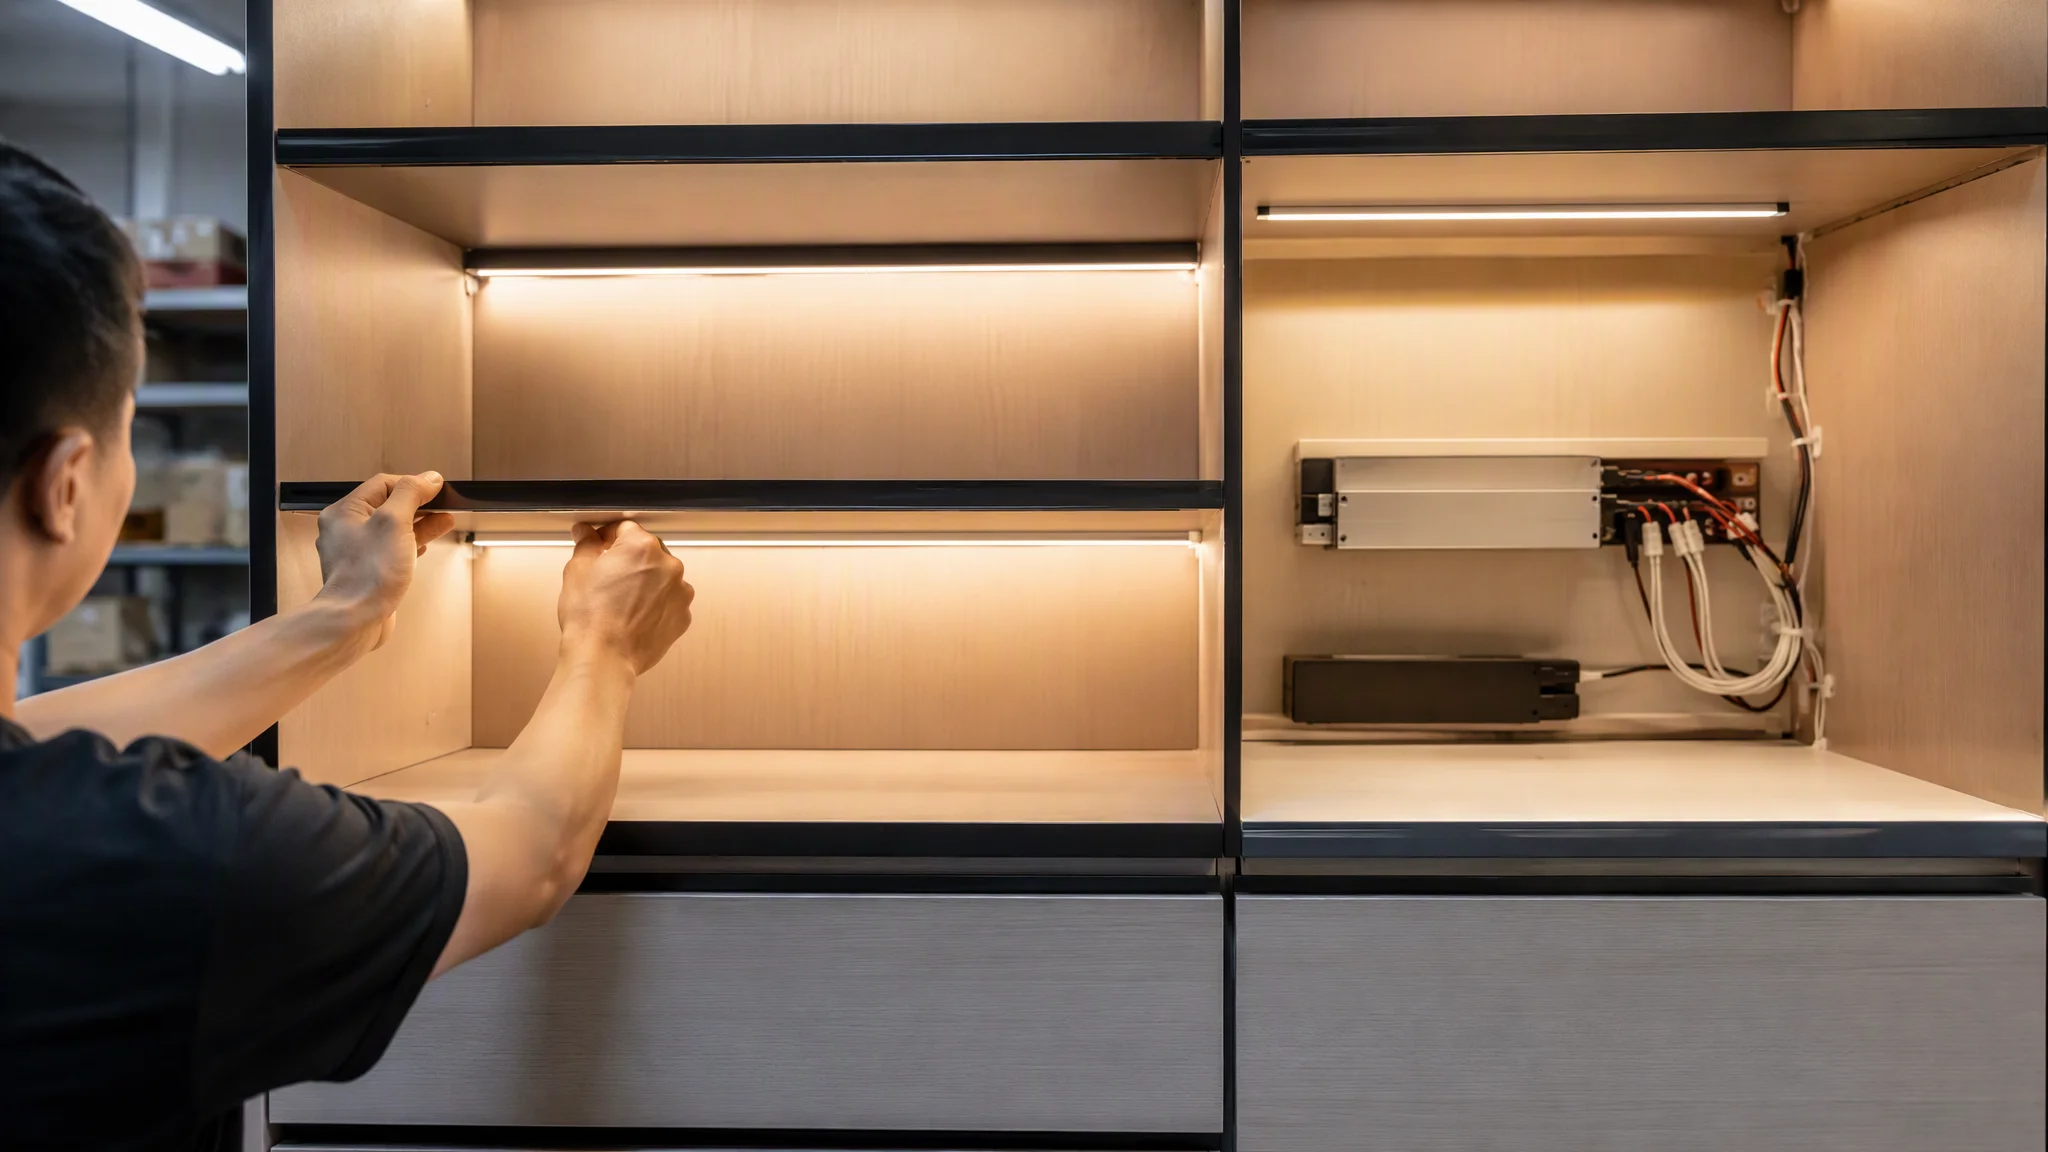
Approve a representative mock-up before repeating a furniture lighting detail across the project.
Frequently Asked Questions
Which COB LED strip is best for cabinet lighting?
The best strip is the one that matches the cabinet length, available width, lighting function, colour temperature, voltage, power, profile, diffuser, and control method. For cabinets with many different section lengths, a cut-anywhere COB strip can make measurement and fitting more flexible.
Are COB LED strips suitable for wardrobes?
Yes, when the strip, profile, cable route, and controls are selected for the wardrobe structure. Keep the light clear of moving doors, runners, clothing contact, and sharp hardware, and leave access for future service.
Should cabinet COB LED strips be installed in an aluminium profile?
An aluminium profile is often useful because it improves alignment, protects the strip, helps manage heat, and provides a more finished diffuser line. The required profile depends on the product output, mounting surface, enclosure, and project environment.
Is a cut-anywhere COB strip better for custom furniture?
It can be a better fit when shelves, drawers, wardrobe compartments, or display sections have different lengths. Confirm the exact cut marks and connection method for the selected product; “cut-anywhere” does not mean cutting through every point without following the SKU instructions.
What colour temperature should I use for furniture lighting?
Choose the colour temperature by testing it with the actual furniture materials and intended use. Warm light may suit hospitality and residential furniture, while neutral light may be preferred for work areas, offices, and some displays. The correct choice should be approved with a physical sample.
How do I prevent dark areas inside a cabinet?
Measure the lighting path carefully, keep the strip straight, position it consistently, protect the connections, and test the first and last sections. Dark areas can also come from voltage drop, incorrect cutting, poor contact, uneven mounting, or an unsuitable profile.
Can I connect several cabinet sections to one power supply?
Possibly, but the total load, wiring length, voltage drop, control capacity, and driver access must be checked together. Separate zones or additional feed points may be more reliable than connecting every section in one long chain.
What information should I send when requesting a furniture lighting quote?
Send the furniture type, individual section lengths, available width and depth, colour temperature, voltage, power requirement, profile preference, control method, installation environment, quantity, and sample requirements. Photos or drawings showing cable exits and service access are also useful.
Final Selection Checklist
Define the lighting task: task, ambient, display, decorative, or mixed.
Measure every finished furniture section separately.
Confirm strip width, profile depth, diffuser, and cable clearance.
Choose voltage, power, feed points, and driver access as one system.
Test colour temperature with the actual wood, stone, glass, fabric, or packaging.
Confirm approved cutting positions for the exact COB LED strip SKU.
Check bending direction, door clearance, and moving-hardware interference.
Test brightness, glare, reflections, heat, dimming, and service access in a mock-up.
Document the approved product, wiring, driver, control zones, and replacement method.
For custom cabinet, wardrobe, display, and commercial furniture projects, LEDLetsGo can help match COB LED strip selection with the required length, profile, power arrangement, and installation details. Start with the actual furniture dimensions and project conditions so the lighting system can be specified accurately from the beginning.
View the Cut-Anywhere COB LED Strip or browse the COB LED strip product range. For project-specific recommendations, request a quote from LEDLetsGo.